When it comes to setting up your Showit blog, you can feature posts in a few key places. By doing so, you’ll drive more traffic to your posts and boost SEO (because Google likes a website that has a network of helpful links)!
Before we dive in, be sure to check out these blog setup resources from Showit if you’re stuck on the tech side of things. I also have a guide on blogging with Showit, full of FAQs from how WordPress integrates with Showit to using Yoast.
For this post, we’ll review strategic placements for your blog posts, i.e. where to actually use those posts you’ve worked hard to put out there.

Where to feature blog posts
Home page
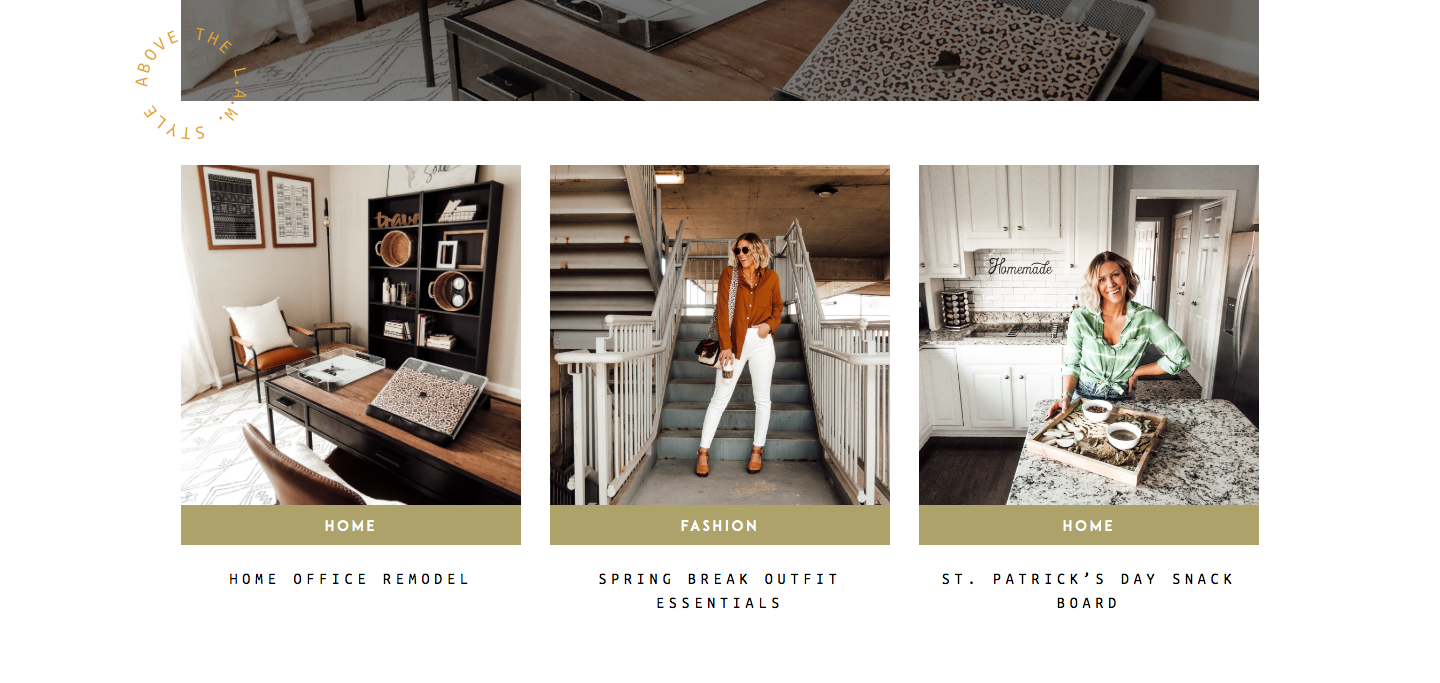
Your home page is typically the very first introduction to you and what you do. Featuring blog posts on this page shows that you are an expert in your field. I recommend featuring 3-4 of your top blog posts towards the bottom of the home page.
You can go about this in two ways:
- Manually add blog posts to your home page. Add a photo, title, paragraph and call to action button. You’ll add everything manually, including the blog link!
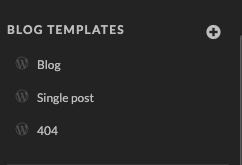
- Create a Showit blog home page. If you want blog posts to auto-populate on your home page, you’ll need to change your home page in Showit to a blog template. Essentially, you’ll turn your home page design into an integration with WordPress, just like your blog page! This means your home page will be listed under the blog templates in Showit with your blog, single post and 404 pages.

Portfolio page
Your portfolio page is an amazing place for blog posts if you want to write features for your top pieces of work.
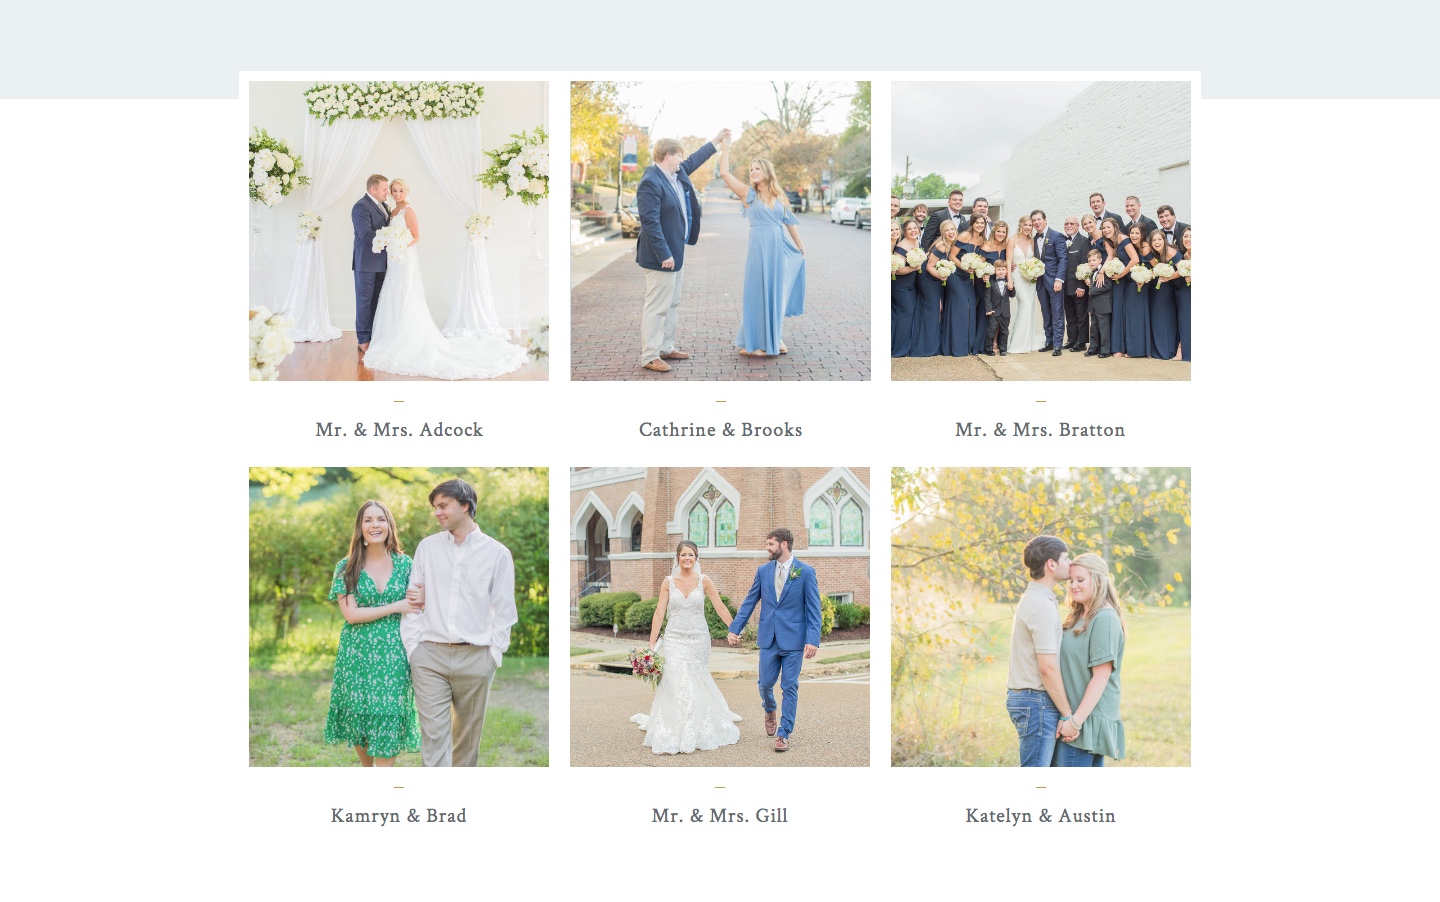
Let me walk you through this concept! If you’re a wedding photographer with 6 weddings featured on your gallery page, write a blog post about each wedding. After the post is published, just feature the blog post in the gallery section under each corresponding wedding.
This works really well if your gallery page has a canvas or single page for each wedding that opens with more details. That detailed area is where you would put a blog for your blog post. Something like, “Read the blog post for this wedding” or “See more on the blog” would be perfect!

About page
This is a bit more uncommon, but is one of my favorites. If you share personal stories in your blog, you might not have many opportunities to sprinkle those links throughout your website. However, your about page is the best place to feature that more personal category! One of my clients chose to do this and I thought it was genius. Check out her about page to see how she featured blog posts.

Thank you page
The thank you page is that one last opportunity you get to keep users on your website. If you haven’t heard of this concept, the thank you page is a hidden page you can create to automatically show up after someone fills out your contact form. Rather than a simple completion message like, “Thank you. I’ll be in touch,” your thank you page would show up with a similar message and more information, such as your newsletter signup link and your blog posts.
Similar to your home page, you can add 3 of your favorite blog posts to this page. In this area, I recommend focusing on blog posts that show your value or describe the process. After all, someone just inquired and they’ll likely be more interested in how you work, versus some of the more tutorial/DIY kind of posts.
Where to avoid listing blog posts
Service/investment page
Once you have someone exploring your services page, the next action you want them to take is to contact you. Featuring other, distracting calls to action could result in losing a sale. This is why, even if your blog post might totally validate the cost of your services, you don’t want to feature any blog posts on your services page.
Contact page
Similar to the investment page, your contact page should guide users to one thing only — that contact form! You can definitely feature blog posts on a thank you page, though, the page that appears AFTER a user submits that inquiry form. (Yay!)
Other Showit Blog Setup Ideas
Wondering how to further engage users on your site? Keep reading.
Side bar
The blog side bar is one of the cutest and smartest ways to show up strategically on your blog. Essentially, the blog side bar is a little column displayed on the side of your blog posts that includes the following:
- Your name
- Short, relatable bio (think Instagram, but with full sentences)
- Headshot
- Blog category links
- Social media links (to follow you!)
- Featured posts
- In the press (where you’ve been featured)
- Awards or badges you’ve earned
This kind of information gives first-time website visitors a quick idea of what you’re about!
Category template
In Showit, you can design any page, including the WordPress pages, to look exactly the way you want them to. Most templates include the blog page design and single blog page design, but you can also customize a category template!
If you don’t customize this, your blog category pages will look the same as your main blog page, which is totally okay! However, if you really want to wow your audience, customizing the category page is a fun way to switch up the look of your site.
I mention this because a category page is just another way to feature your blog posts!
Tag template
And just like your category template can be customized, so can your tag page template. If you use the tag section of your WordPress blog (adding tags to your individual posts), this means you’re creating individual archive pages for every single tag.
Again, you can customize this page or it will look just like your main blog page.
Have questions on your Showit blog? The Showit support team offers great help through their chat box. For more Showit blog tips, web design insights and small business ideas, follow along on Instagram!
